

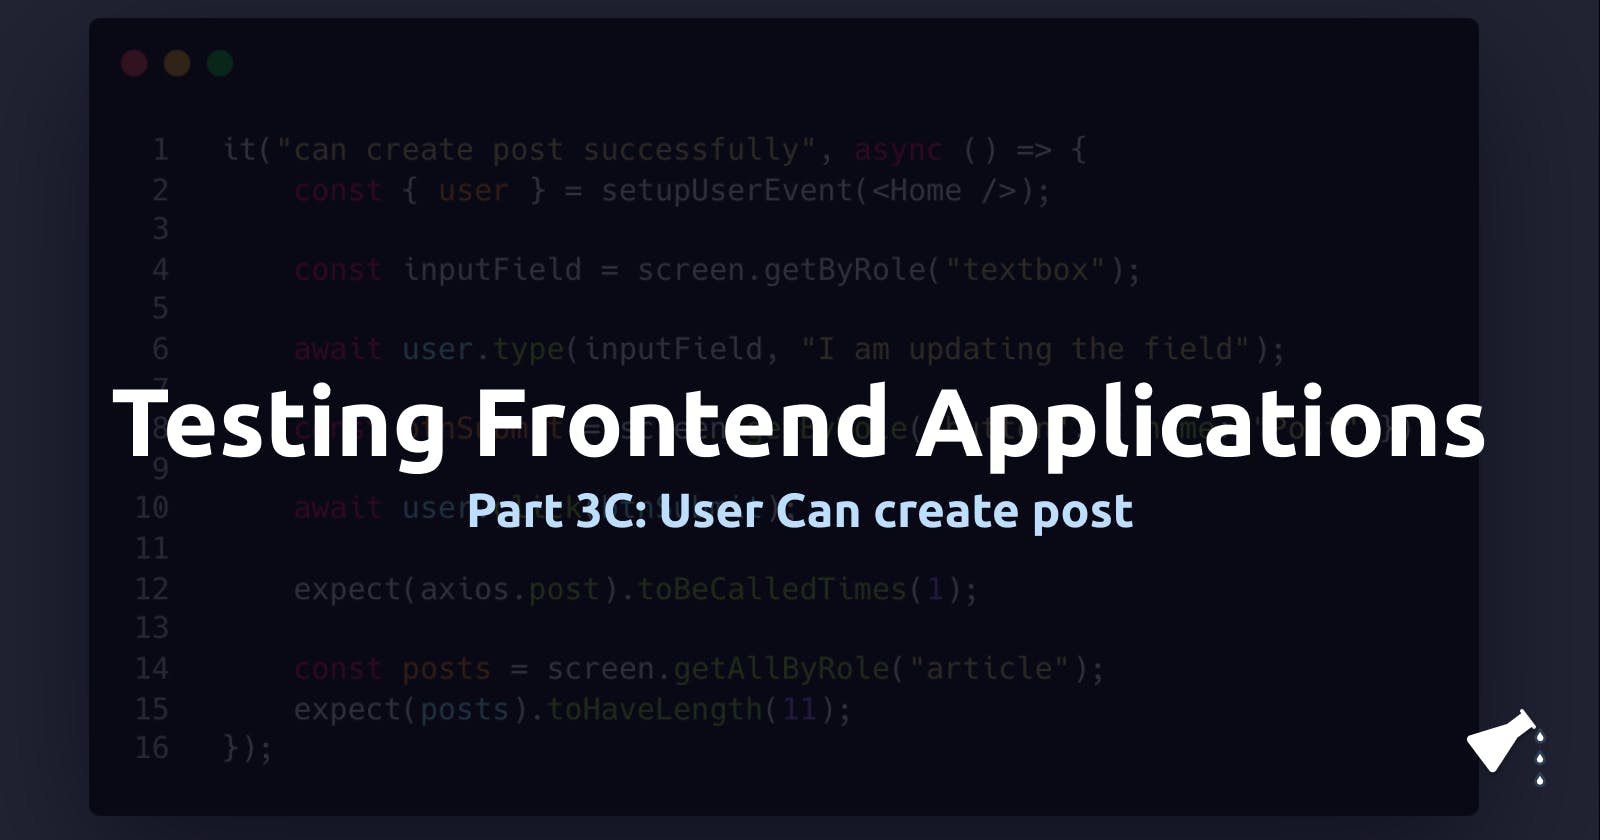
Testing Frontend Applications: User Story 2 - User can create a post (Part 3C)
Ensure that user can create a post successfully


- #1: Introduction
- #2: Setting up Next.js Project for testing
- #3: Writing the tests
- #3A: What should I test?
- #3B: Testing App Initial Load
- #3C: User can create a post (i.e This article 😁)
- #3D: User can edit a post
- #3E: User can delete a post
- #3F: Snapshot Tests and Conclusion
- #4: Are my tests enough?
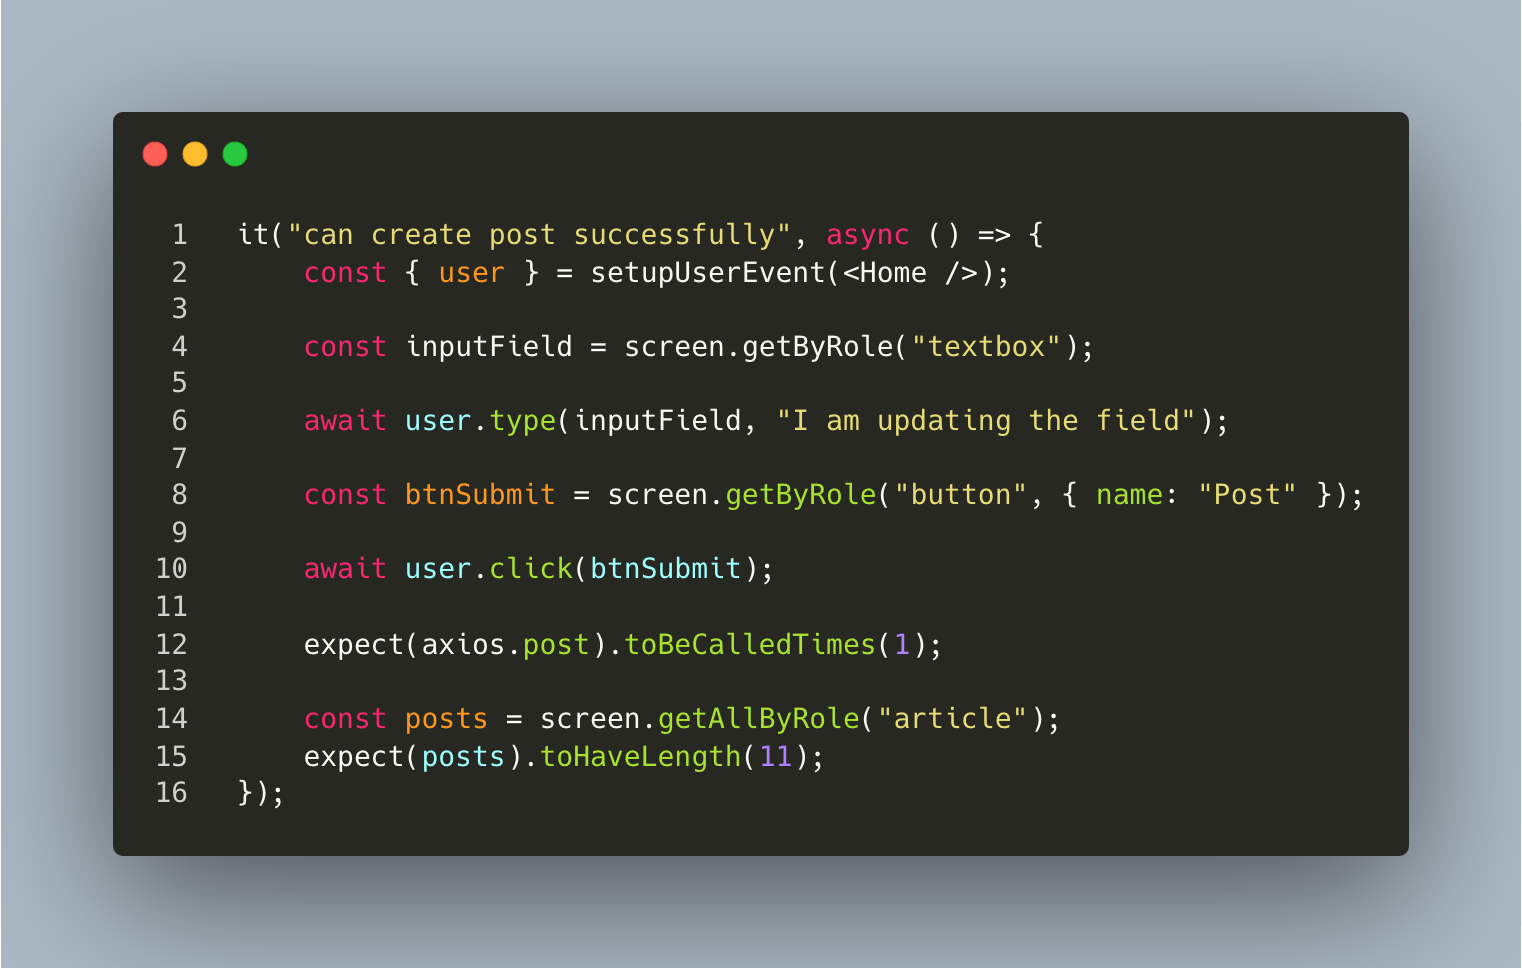
Line 1 : Create a new it block and give it the description "can create post successfully".
Note: In our code this it block would be directly after the it block for our first user story (you can check the final code in the GitHub repo here)[github.com/davidobodo/testing-frontend-apps..tests/home.test.tsx]. However for "line numbering" convenience, I am using the screenshot above from Carbon.
Line 2 : We are render our Home component, however we are not just simply rendering it, but giving it some "super powers". (What do I mean by "super powers"?)
Ordinarily, whenever you render a component in a test file, by default you cannot click on buttons, type in inputs or perform other actions which real life users would perform. By giving the component "super powers" we give it the ability to respond to these user actions in our test file. To do this we use setupUserEvent method. So where does setUpUserEvent come from?
Let me start answering this question by first saying that most times in React applications, we usually have some providers wrapping our main component. These providers serve different purposes. Some might be to give global styles to our entire application(e.g style-component), or to make a global state/store available(e.g redux, react-query) to our entire application. When testing, we need to make sure that these globals are also present in our test, if not we would be testing our application in a state that is different from what is actually being used by live users. For this, let's create a utils tests file. In your root folder run
mkdir utils; touch utils/test.tsx
This command creates a utils folder in the root of our application, and then creates a test.tsx file inside the utils folder. You can put this file anywhere, but for separation of concerns I like putting such files inside the utils folder. Next, write the below code inside the file:
import React, { ReactElement, ReactNode } from "react";
import { render, RenderOptions } from "@testing-library/react";
import userEvent from "@testing-library/user-event";

const Wrapper = ({ children }: { children: ReactNode }) => {
    return <div>{children}</div>;
};

const customRender = (ui: ReactElement, options?: Omit<RenderOptions, "wrapper">) =>
    render(ui, { wrapper: Wrapper, ...options });

const setupUserEvent = (jsx: JSX.Element) => {
    return {
        user: userEvent.setup(),
        ...customRender(jsx),
    };
};

// re-export everything
export * from "@testing-library/react";

export { setupUserEvent };
In this file, you can see that we have 3 main functions:
Wrapper function: This is where you define any wrapper/provider that you also have in your
_app.tsxfile.customRender function: This is similar to the
renderfunction we have used in our previous test, only that this has been upgraded to receive options. In our first user story, all we did to render a component wasrender(ui)but now we have upgraded it torender(ui, {wrapper, options}). This way we can pass the wrappers (i.e providers) that are around our ui/component and also pass in extra options.setupUserEvent function: This is our main concern cause here we add
userEvent.setup(), to set-up user events.
After defining these functions, we reexport everything from the main testing library and export our setupUserEvent.
The imports in our main test file should now look like this:
import axios from "axios";
import Home from "../pages/index";
import { postsData } from "../data";
import { setupUserEvent, render, screen, waitForElementToBeRemoved, within } from "../utils/tests";
Now that we have established what setupUserEvent is and where it comes from, let's move to the next line in our test it block.
Line 4 : We accessibly get the only textbox currently in the document, which is our post input field
Line 6 : We type "I am updating the field" into our textbox using the userEvent method. Let me point out that there are basically two ways to perform user interactions.
- using
fireEvent - using
userEvent
fireEvent dispatches a concrete DOM event whereas userEvent allows you describe a user's interaction. So you should always use userEvent. You can read more about why here https://ph-fritsche.github.io/blog/post/why-userevent and https://testing-library.com/docs/user-event/intro/.
Note that userEvent is asynchronous, so must be used with the await keyword
Line 8 : We get access to the submit button used to submit our post
Line 10 : We click our button
Line 12 : We assert that our post request has been called at least once.
Line 14 : Since we just created a post, lets check that the number of posts being displayed have increased.
Line 15 : We expect our article count to be 10 + 1 = 11.
🎉 We have successfully tested the entire process of creating a post